Hello World with Publii
Have you ever wanted a place on the Internet to claim as yours? Here is how to setup a website like this one. Then you can make it uniquely yours.
Start
- Download and install Publii from https://getpublii.com/
- Open Publii, which runs you through a site creation wizard. It doesn’t matter what you set here, because you can change it from the settings later.
- Create a new post. If you’re not sure which editor to use, WYSIWYG might be easiest. Write and save your post.
- Click on “Preview your changes” at the bottom left:
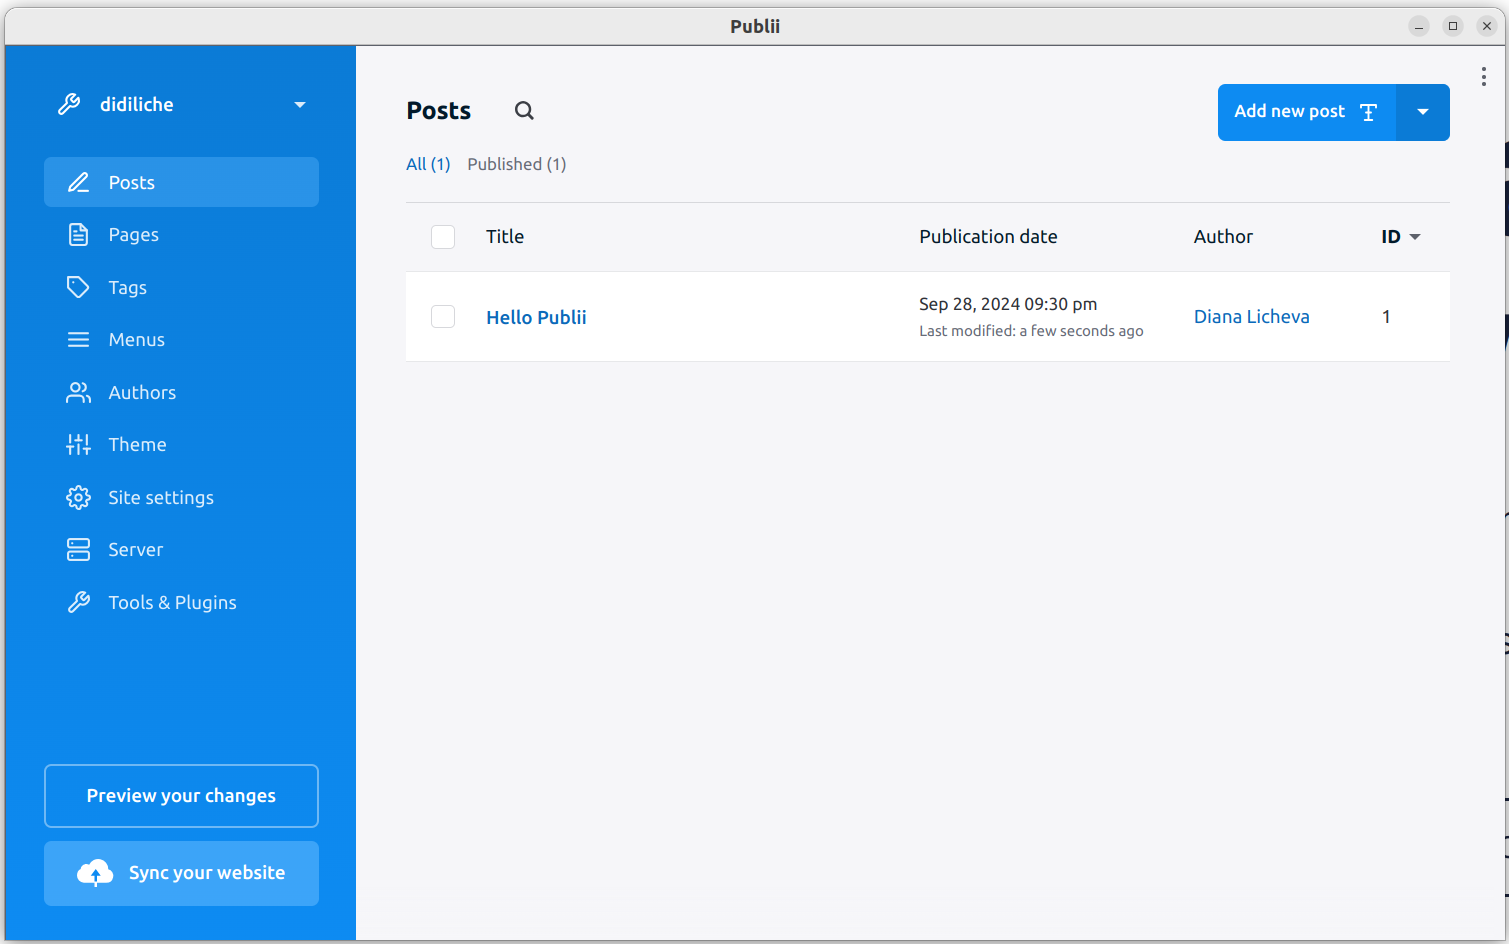
Congratulations, you have a website :)
Experiment
Now is the fun part: see how you can customise it.
- Replace the placeholder homepage intro with your own. Go to
Theme > Layout > Homepage > Hero Textand edit it. - Have a look at the colours, fonts and various styling in the Theme settings.
- Add a new page (e.g. About). A page can have text on its own, or it can contain a list of posts.
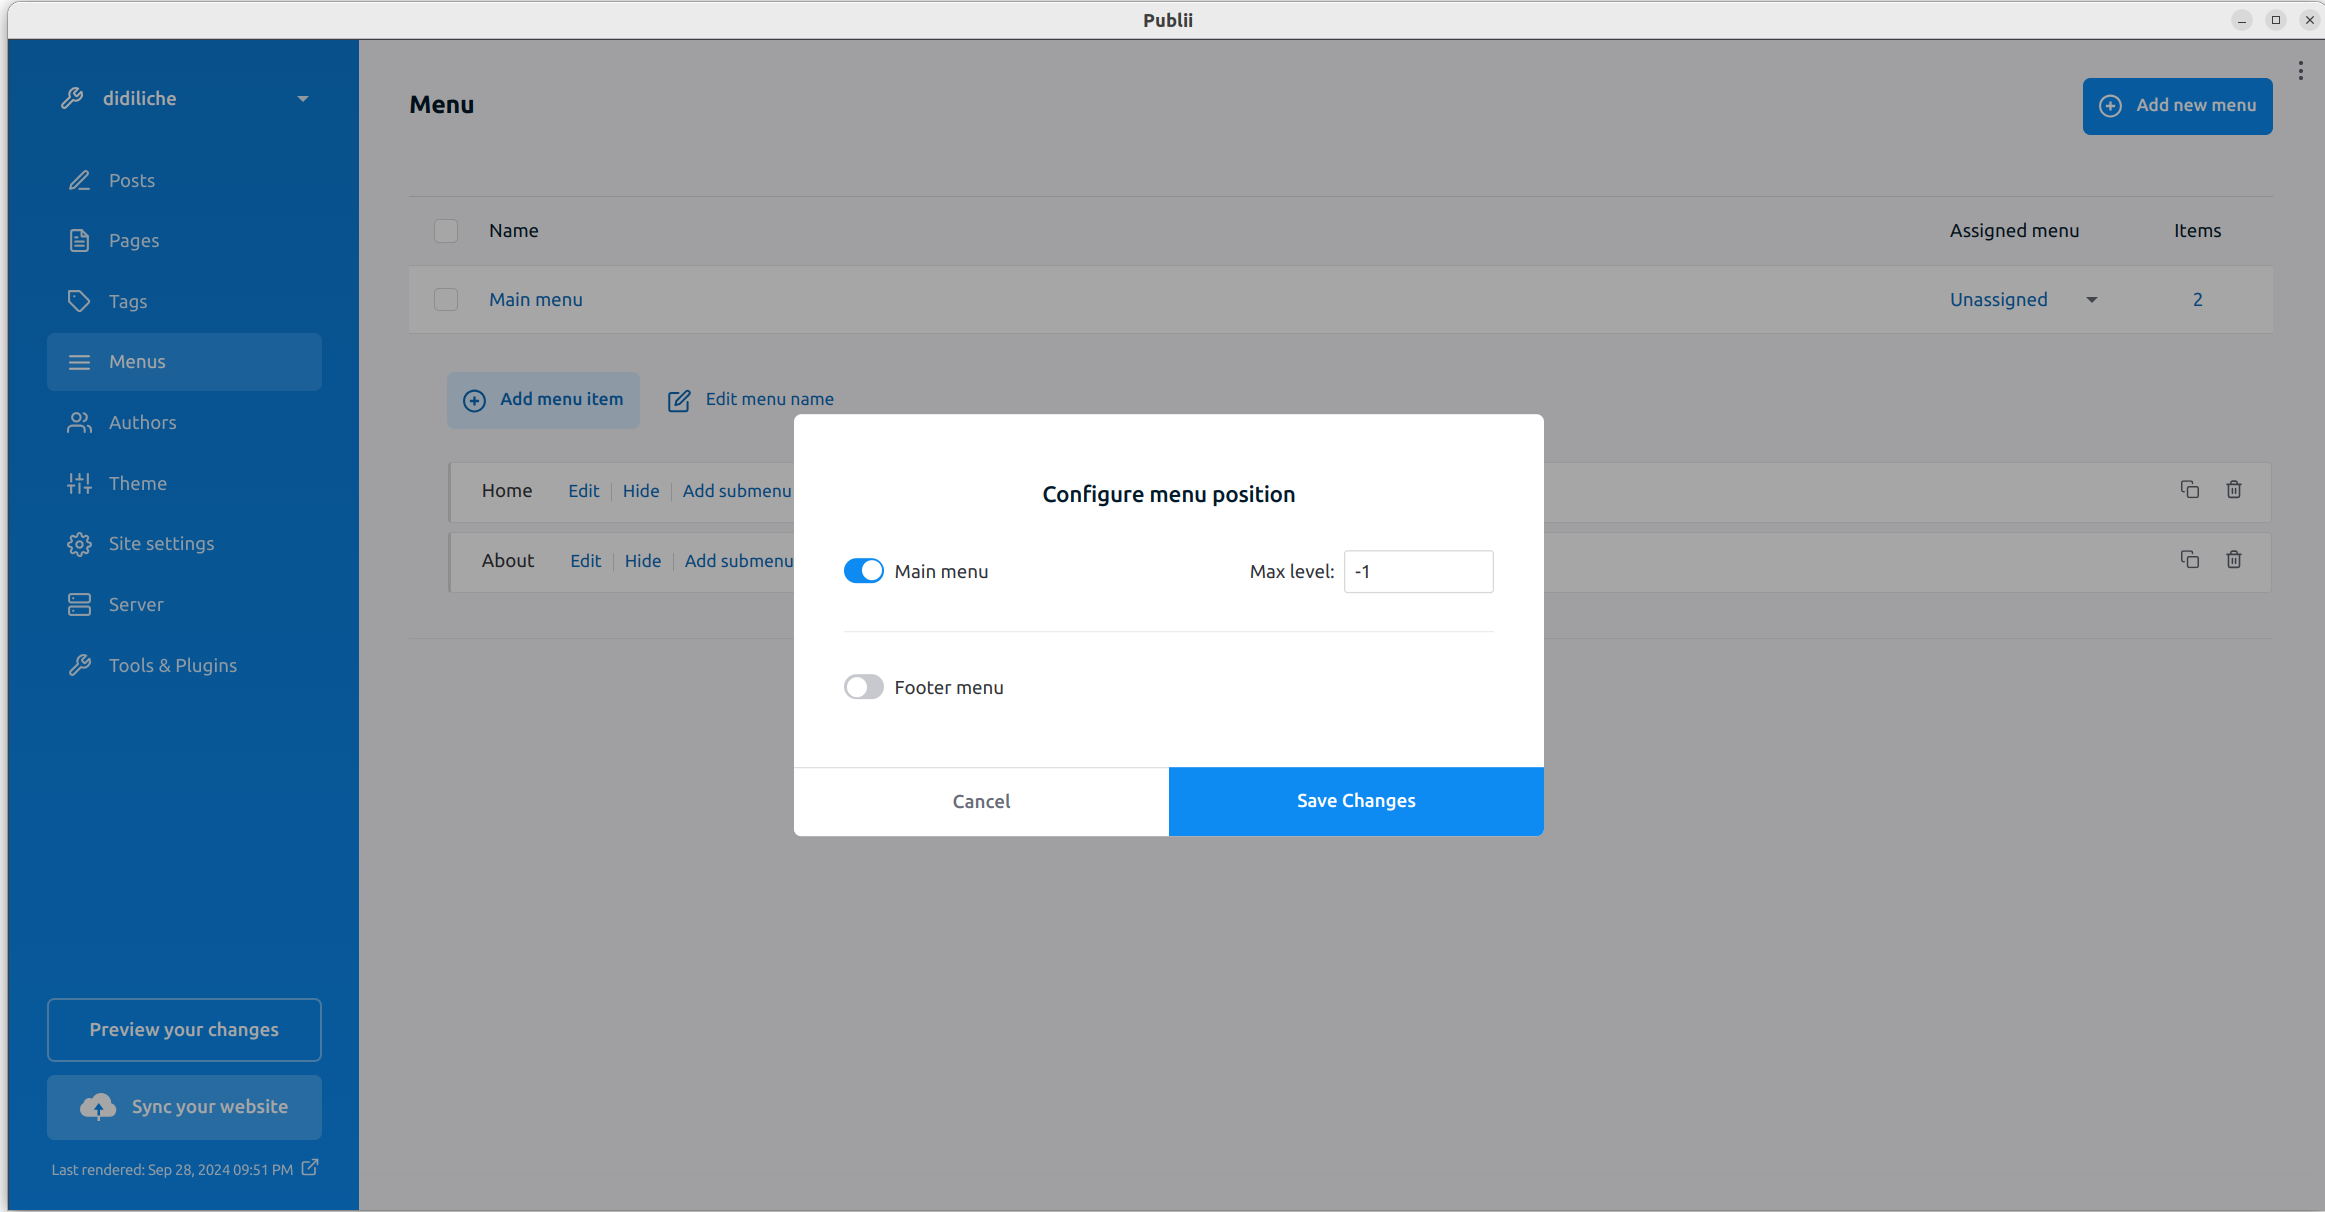
- Make the new page accessible, by creating a new menu. Don’t forget to tell Publii site that this is the “main menu”:
Publish
Let’s publish it, so we can brag :) First, we’ll tell Publii to give us the files of the website. Then we’ll upload them to CloudFlare pages, for free hosting.
- Go to Server, and click ZIP server type.
- Set up the website with relative URLs (that will be until you know your official URL).
- Setup the output directory to somewhere easy to find.

- Click on “Sync Your Website” at the bottom left. That will give you the folder with your website’s files.
CloudFlare
Cloudflare is a world-wide Content Delivery Network (more details here ). They like it when they can host stuff themselves, so they provide free static file hosting. We have a website made of static files, so that’s perfect for us.
- Sign up for an account on CloudFlare and confirm your email.
- Click “Start building” if it asks you whether you have an existing project.
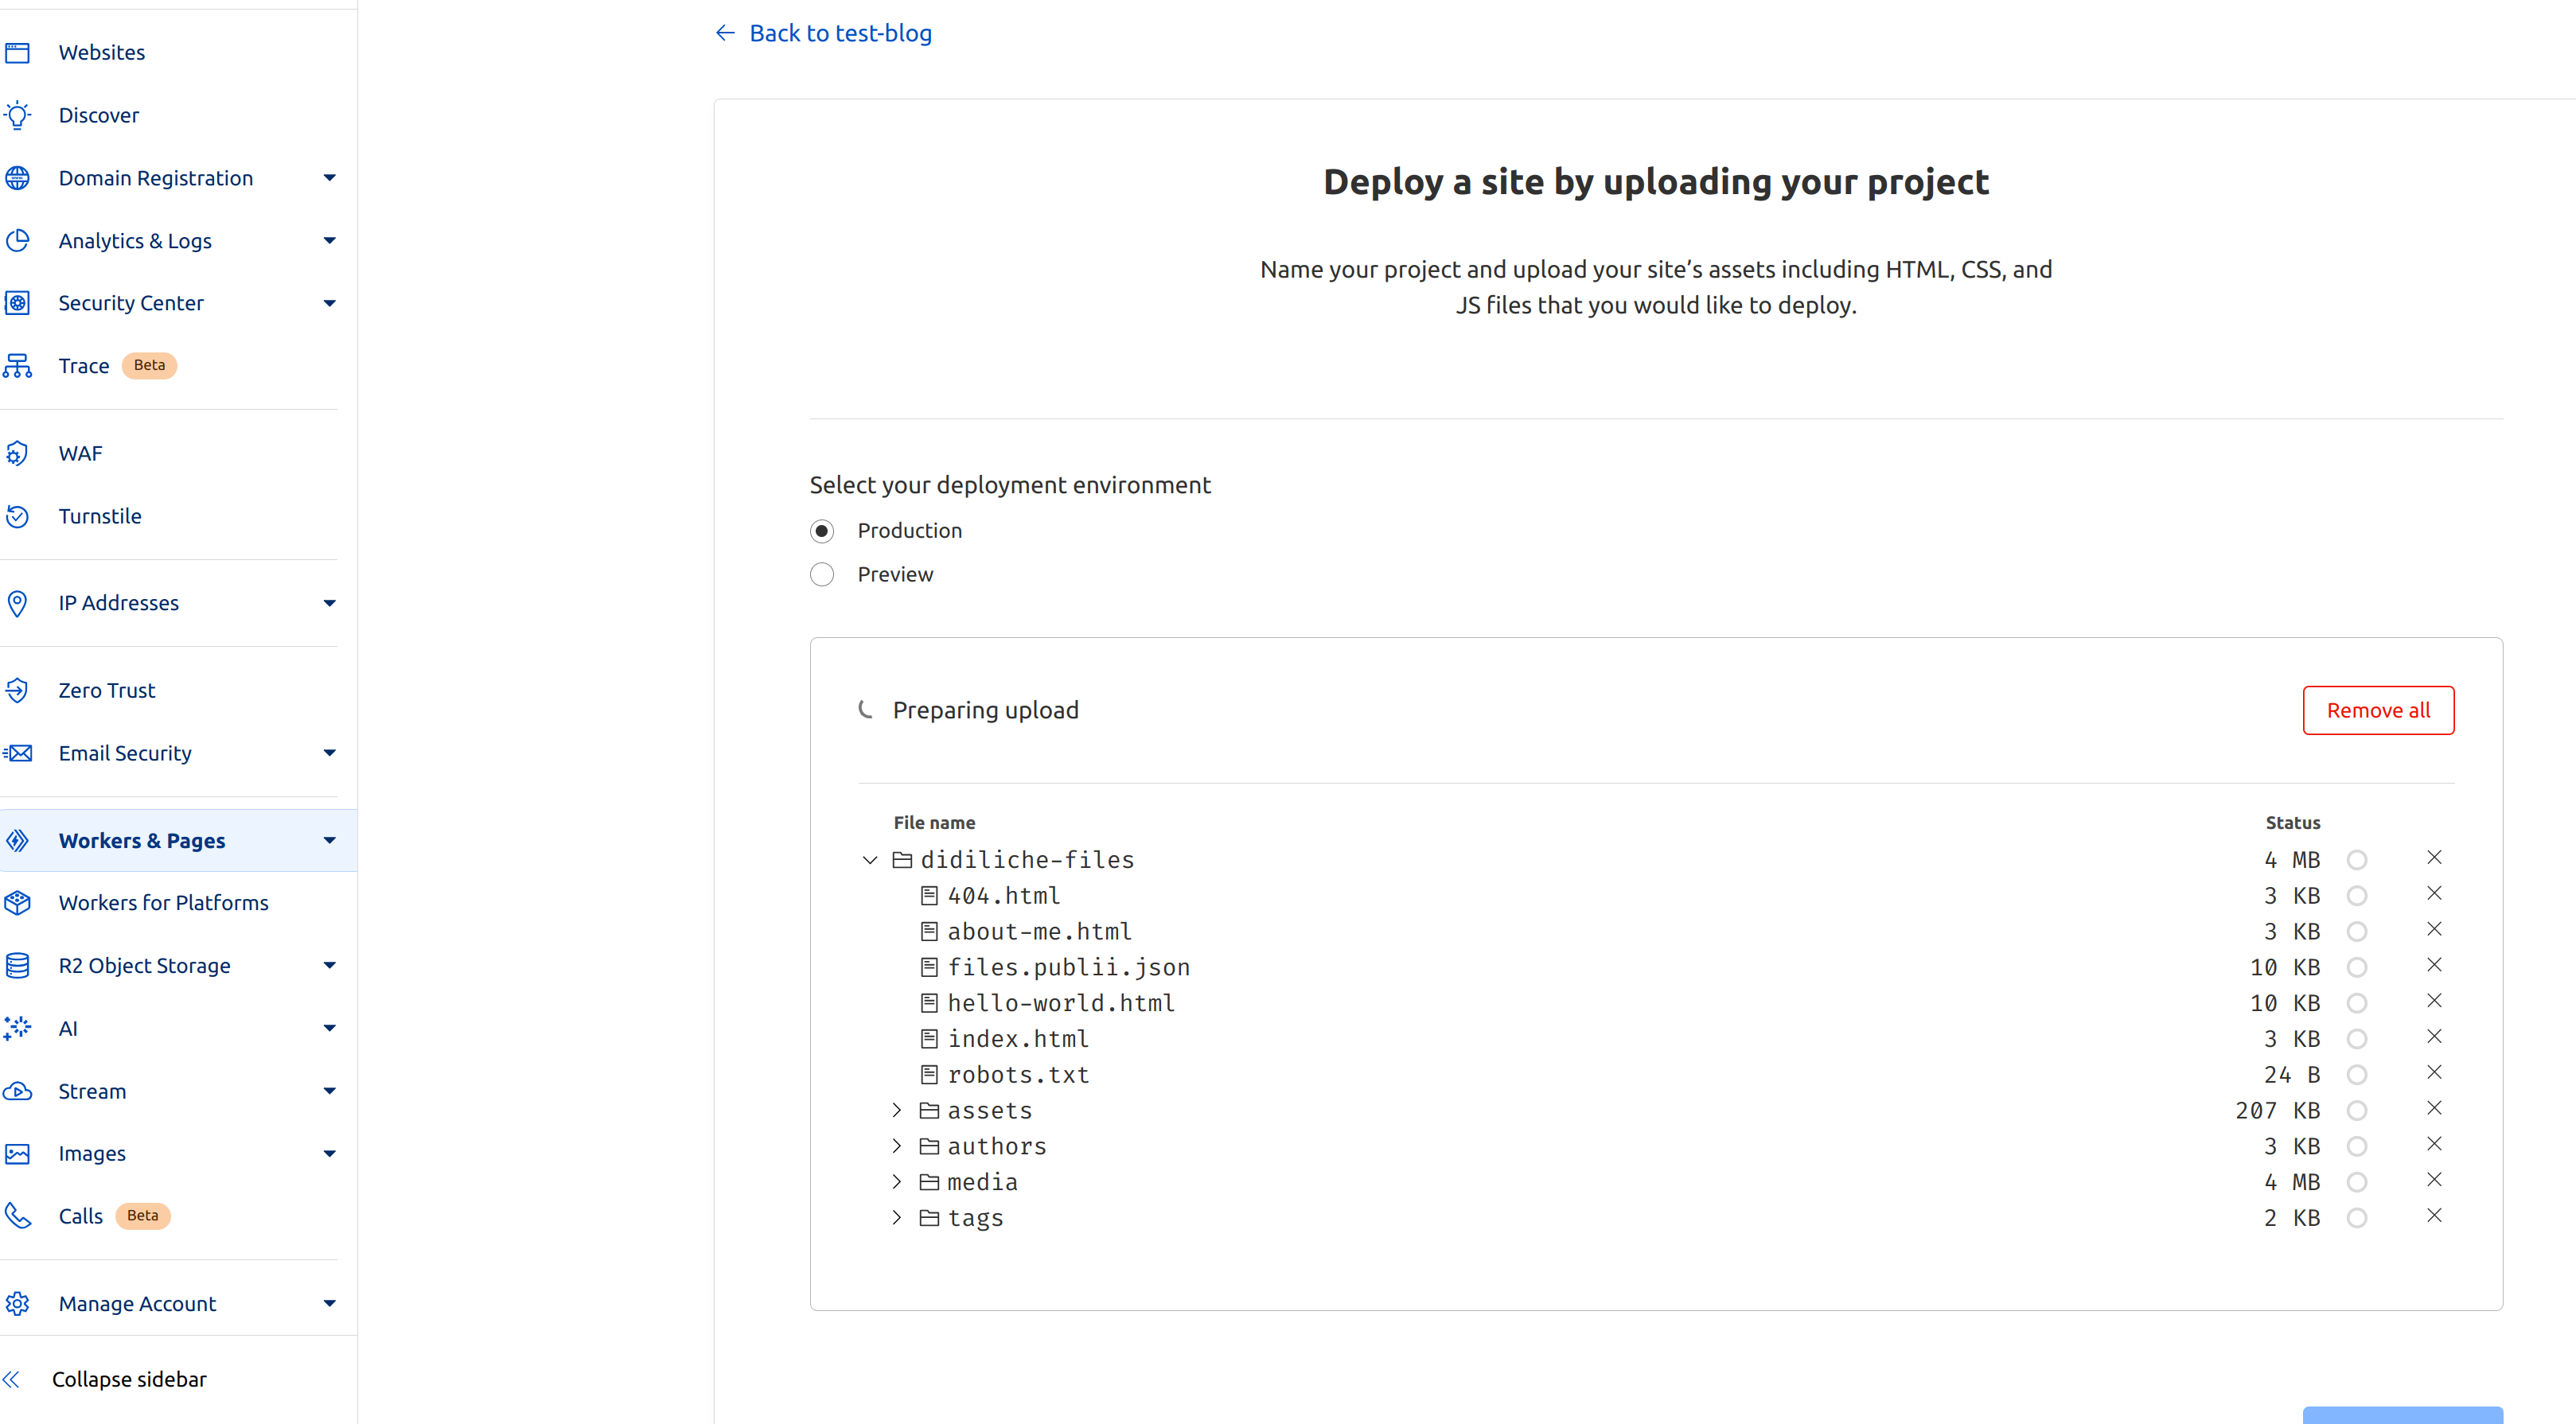
- Once you can see the dashboard, go to Workers and Pages on the bottom left

- Click on the Pages tab
- Upload the folder that Publii generated
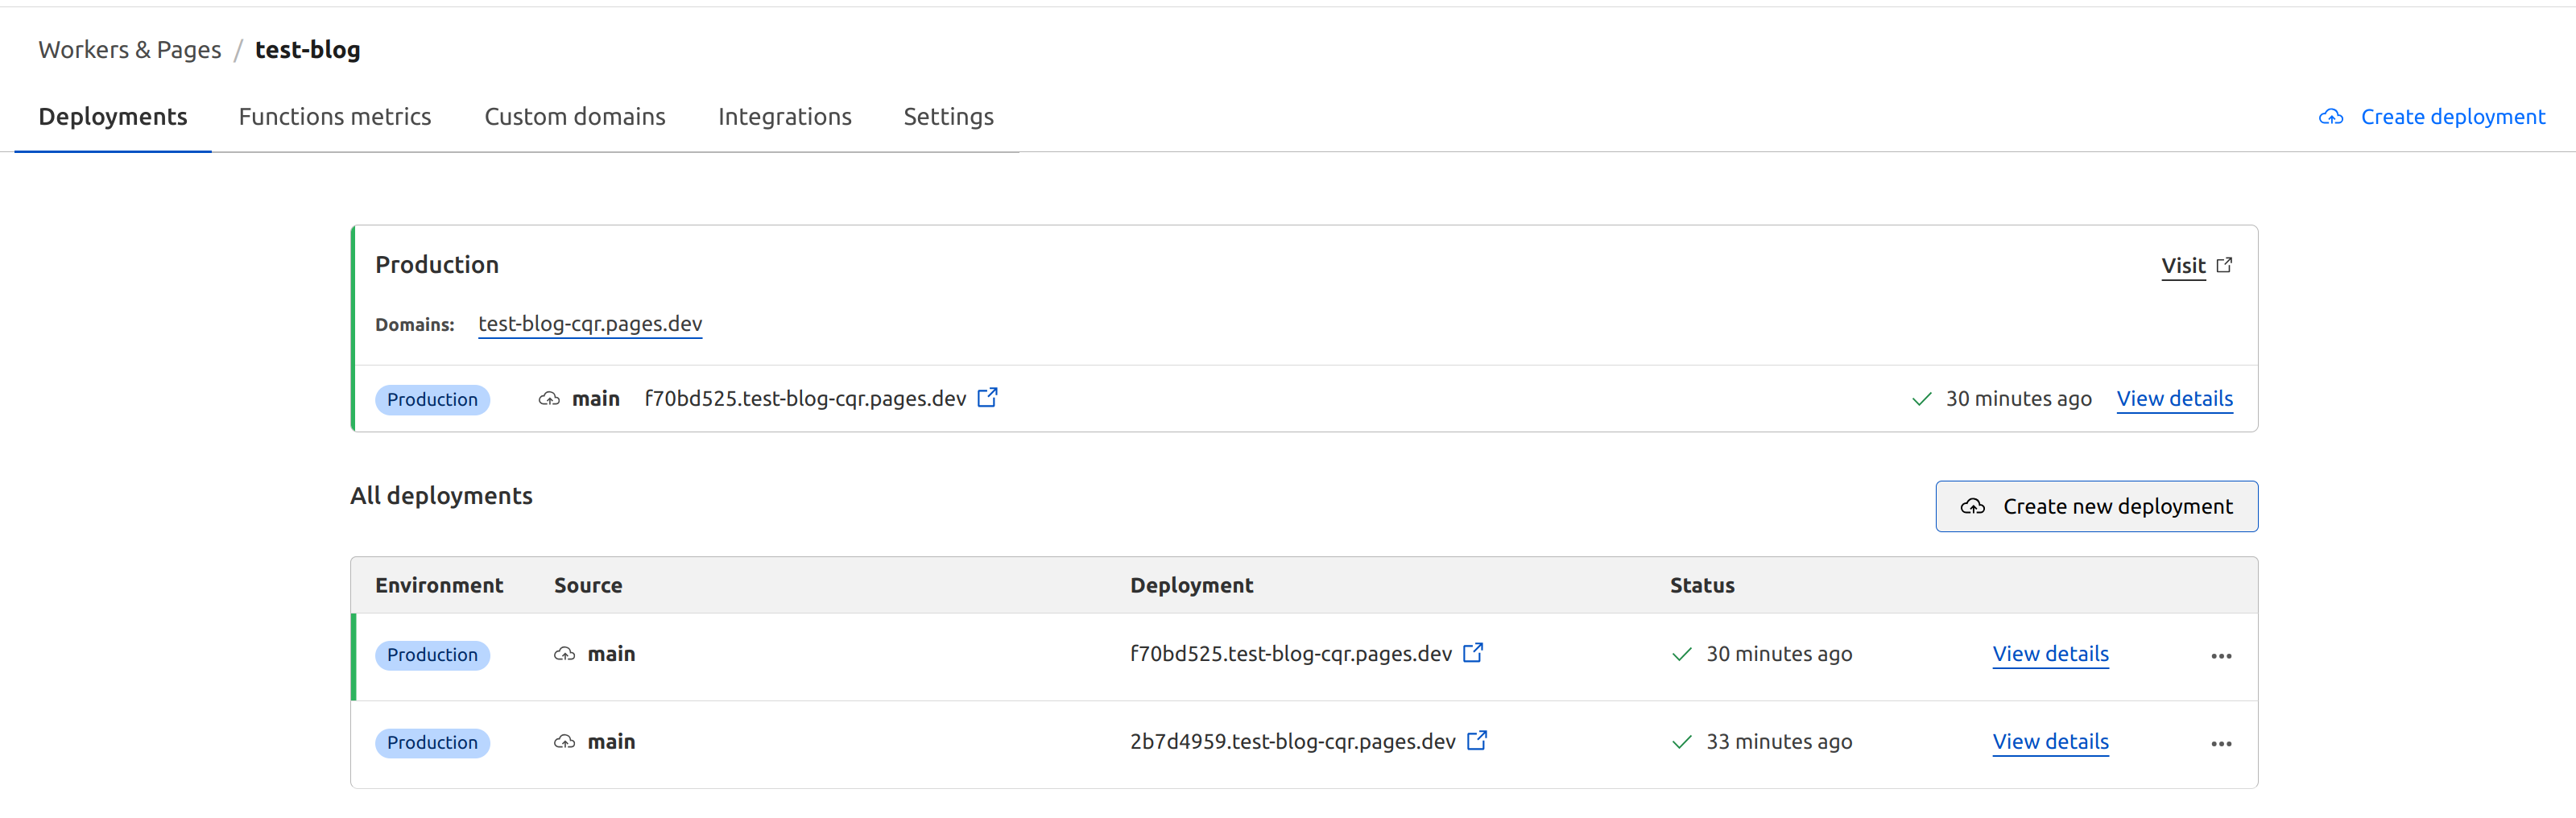
CloudFlare will give you a link where your website now lives. Make a cup of tea - it takes a couple of minutes to deploy it for the first time.
Update
- Make some changes in Publii
- Click on “Sync Your Website”
- Open the Cloudflare
Dashboard > Workers and pages > Your site name - Click on “Create New Deployment” and upload the folder that Publii updated.
Next Steps
- Get a domain name and assign it to the website. You can do that from within CloudFlare. Domain names cost money and are usually renewed every year.
- Setup an automatic deployment, to publish whenever we click “Sync Your Website”